There’s something magical about old vocal recordings. Think of a dusty vinyl spinning in a quiet room, the singer’s voice wrapping around you with warmth, depth, and space. It doesn’t sound sterile or overly polished. Instead, it feels alive, almost as if the singer is standing just a few feet away. That vintage, warm, roomy vocals is what draws us back to classic records time and time again.

But here’s the good news: you don’t need an analog studio from the 70s to capture that same character in your own tracks. With the right choices in recording and mixing, you can bring that timeless vibe into modern vocals.
Table of Contents:
5 Useful Ways to Make Your Vocals More Vintage
1) Let the Room Become Part of the Performance
2) Work with the Mic (not against It)
3) Embrace the Glow of Harmonics
4) Shape Space with Classic Ambience
5) Sculpt the Tone with Gentle EQ Moves
5 Useful Ways to Make Your Vocals More Vintage
The sound we call “vintage” isn’t just about old gear. It’s about choices that make a vocal breathe, resonate, and feel like it belongs in a real room. Below are five ways to shape your vocals so they carry that warm, lived-in character. Each step is very importance:
1) Let the Room Become Part of the Performance
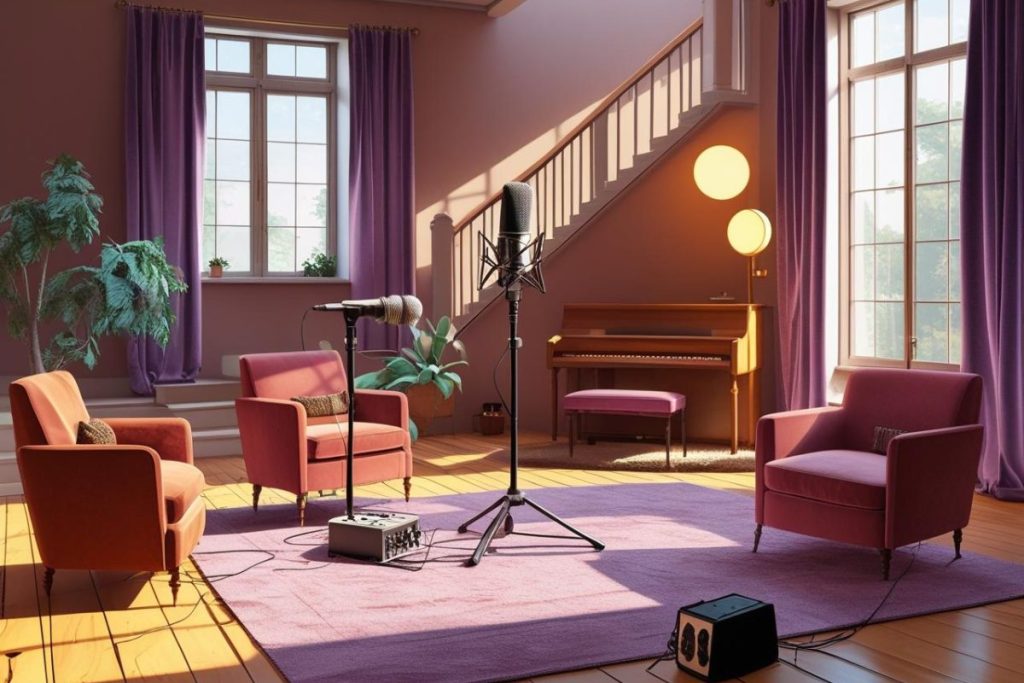
When you listen to older records, you can almost hear the walls. Singers weren’t isolated in padded boxes. They performed in lively spaces that, as a result, left a mark on the sound. If you want that roomy feel, you have to open your voice to its surroundings.
For that, try recording in a space that has character. Character means a living room with wooden floors, or, a stairwell that adds a faint echo. It’s better if you brainstorm here. Place your main mic close to keep presence, then experiment with a second mic set farther back to catch the air of the room. Even blending that room signal in quietly can make the vocal feel like it belongs to a place, not just a file.
2) Work with the Mic (not against It)
You must agree that every mic has its own fingerprint. Vintage records leaned on ribbon mics that softened harshness or large-diaphragm condensers that added silky detail. The singers knew how to play the mic by moving in close for warmth or leaning back to let the sound breathe.
If you want warmth, experiment with distance. Getting closer brings out low-mid body through proximity effect. Back off for smoothing the tone. Tilting the mic slightly off-axis tames sharp consonants. Ultimately don’t treat the mic like a static object.
3) Embrace the Glow of Harmonics

Tape machines, tube preamps, and analog consoles all left fingerprints on sound. They didn’t capture voices perfectly. They added tiny distortions, low-order harmonics, and a gentle roll-off that made everything feel round and warm.
Today, you can recreate that glow with saturation plug-ins or outboard gear. Start subtle: drive a tape emulation so peaks just nudge into saturation, or use a tube preamp model to thicken the mids. If you want more grit, try duplicating the vocal, saturating the copy more heavily, then blending it low under the original. That touch of imperfection adds soul and makes a vocal feel like it came from an older world.
4) Shape Space with Classic Ambience
One of the biggest differences between modern mixes and vintage ones is reverb. Old records often leaned on plates, chambers, or springs to add dimension. The result wasn’t a washed-out vocal, but one that felt like it floated in a believable room.
Note: Reverb (short for reverberation) is the natural trail of sound that happens when it bounces off walls, ceilings, and objects in a space. In mixing, adding reverb makes vocals feel like they’re sitting inside a room instead of sounding dry and isolated.
Try adding a short plate reverb with just enough decay to give depth without blurring the words. A mono slapback delay, one repeat at around 100 milliseconds, can thicken the vocal. This will make it feel like it’s bouncing off the back wall of a club. Springs work beautifully in small doses. These will eventually add shimmer and life. Don’t forget to filter your effects returns so they don’t clutter the mix: cut lows below 150 Hz and gently roll off highs.
5) Sculpt the Tone with Gentle EQ Moves

Vintage warmth isn’t about bright, glossy vocals. It’s about balance and restraint. Engineers shaped tone with broad EQ curves and subtle cuts rather than harsh boosts. That’s part of why older recordings sound smooth to the ear.
You can start by rolling off an unnecessary rumble below 80 Hz. If the vocal feels boxy, dip gently in the 200–300 Hz range, but not too much. Because that’s also where warmth lives. If harshness creeps in around 3–5 kHz, soften it with a small cut. Instead of boosting highs for air, try a gentle low-pass filter above 12–15 kHz, which creates a natural vintage roll-off. The result is now pleasingly mellow, the way voices sounded on tape.
Conclusion
Chasing a vintage, warm, roomy vocal sound is less about copying the past and more about capturing feeling. Don’t rush the process or expect one setting to do it all. Experiment with your room, mic distance, reverb blends, and saturation until the voice feels alive and believable. Listen back on different systems, ask yourself if it feels human and not just “processed.” With patience and small, careful moves, you’ll discover that timeless character that makes vocals stand the test of time.
Frequently Asked Questions
1. How do I make my vocals sound warm like vintage records?
Warm vocals come from mic choice, room sound, and subtle processing. Ribbons or dynamic mics naturally soften highs. Recording in a space with some reflections adds depth. Use gentle saturation or tape emulation to add harmonics, then shape with EQ to keep mids smooth. Avoid over-brightening and focus on balance so the vocal feels natural and pleasing.
2. What is the best way to get a roomy vocal sound at home?
A roomy sound starts with the recording space. Instead of a dead, padded room, use one with some natural reflections like a living room or hallway. Place your main mic close and a second mic farther back to capture air. If you can’t capture the room naturally, use short plate reverb or slapback delay to simulate space without washing out the voice.
3. Why do vintage vocals sound warmer than modern recordings?
Older recordings passed through tape machines, tube preamps, and analog consoles. These naturally added soft saturation, rolled-off highs, and low-mid thickness. Modern digital systems are very clean, so they often sound sharper. To get similar warmth today, use saturation plug-ins, tape emulations, and gentle EQ to smooth the top end and highlight body, recreating the imperfections that gave vintage vocals their character.
4. What reverb settings work best for vintage-style vocals?
For a vintage vibe, avoid long and bright reverbs. Use plate reverb with decay around 1–2 seconds and a pre-delay of 20–40 ms so the vocal stays upfront. Add slapback delay at 80–120 ms for thickness. Always filter the reverb return: high-pass around 150 Hz and low-pass near 8–10 kHz. This creates a natural, warm space instead of a shiny, modern wash.
5. How can I stop my vocals from sounding harsh but keep them clear?
Harshness often sits around 3–5 kHz. A gentle cut in this range smooths sharp consonants. Use de-essing if sibilance is strong. Don’t boost highs too much. Instead, roll off above 12–15 kHz for a vintage-style tone. Get warmth by moving closer to the mic, adding subtle saturation, and balancing mids. This way you keep clarity while removing unwanted sharp edges.