A budget home recording setup can sound clean and clear if you focus on the basics. You don’t need a fancy home studio to start. With the right recording gear and a simple audio recording studio setup, you can record vocals, guitar, or voice-overs at home. In this guide, I’ll show an easy home recording studio setup that works on a tight budget.
Table of Contents:
Choose the right space for your home studio
The basic home recording studio setup
Quick Recording Setup Guide (Get Clean Takes Fast)
Choose the right space for your home studio.
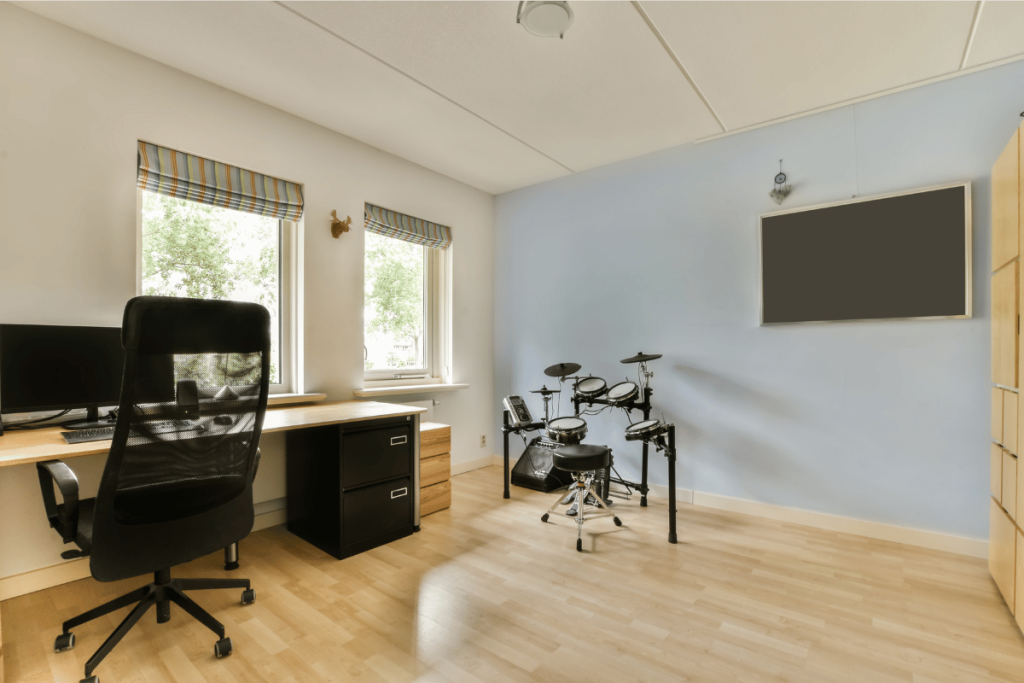
Your home studio does not need a full room. You just need a space that is quiet and has less echo. Start by walking around your house and listening. Can you hear traffic, a fan, people talking, or a TV? Pick the spot with the least noise.
A simple example: a bedroom often works better than a living room. It has softer things like a bed, curtains, and clothes. These indirectly help reduce echo. Try to avoid a room with lots of glass, tiles, or empty walls. These make your voice sound “roomy.”
You can also build a small recording setup in a corner. Place a rug on the floor. Close the curtains. If the room still echoes, hang a thick blanket behind you.
Turn off loud items before recording. For example, switch off the AC or ceiling fan for a few minutes. This small step can make your audio much cleaner.
The basic home recording studio setup
A cheap home studio can work well if you buy the right basics. Here is a home recording studio setup that is enough to start recording on a budget:
Microphone
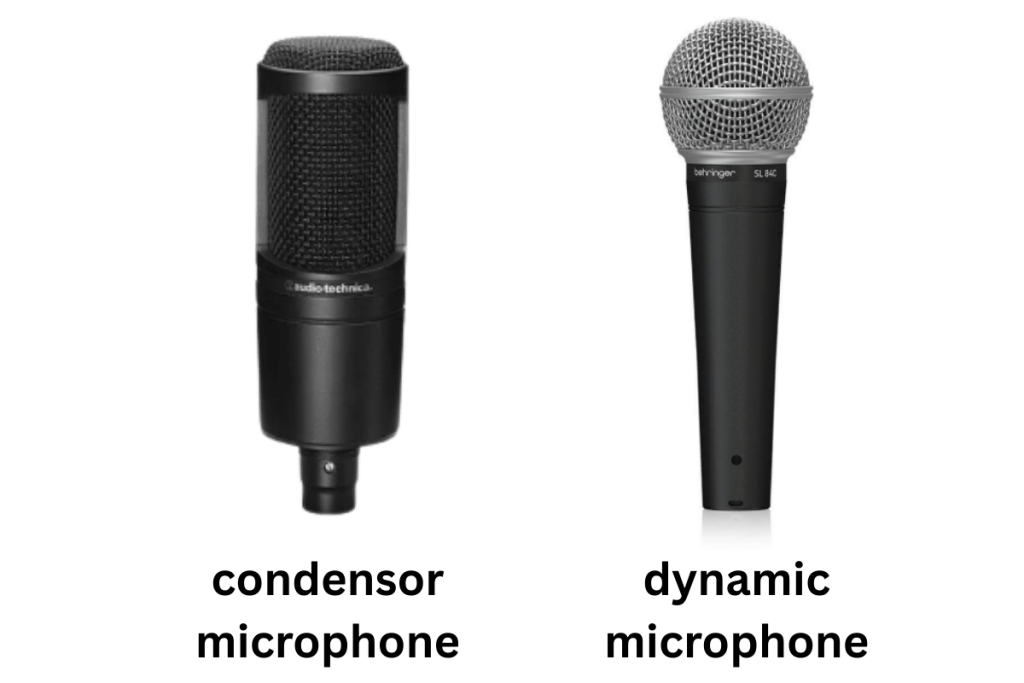
Your microphone is the first part of your recording setup. If your room is quiet and has less echo, a condenser microphone can sound detailed and clear. But it can also pick up fan noise and room sound. If your space is not treated, a dynamic microphone is often safer. It focuses more on your voice and less on the room. For many budget home studio users, a dynamic mic is a smart first choice.
You can also start with a USB microphone. It plugs into your computer directly. This keeps the budget home recording setup simple.
Read More to choose the microphone that will be best for you.
Audio Interface

If you use a non-USB mic, you need an audio interface. Think of it like a bridge between your microphone and your computer. It takes the quiet mic signal and makes it strong and clear. This helps your voice sound cleaner than it does when recording with a basic laptop mic.
An interface also gives you a mic preamp. This is what controls your input gain. Gain is how “loud” the mic signal is before it reaches your DAW. Set it too high and your audio will clip and sound harsh. Set it too low and your recording will sound weak and noisy.
Many interfaces also provide 48V phantom power, which most condenser microphone models need to work. Dynamic microphone models usually do not need phantom power.
For a budget home recording setup, a simple 2-in/2-out interface is enough. It lets you record one mic (or a mic and guitar) and plug in headphones for monitoring. Some interfaces also have direct monitoring. This lets you hear yourself with almost no delay, which makes recording much easier.
Learn More about audio interfaces.
Computer + DAW (Recording Software)
You need a computer or laptop to record at home. It does not have to be fancy. But it should run your recording tool without freezing. Close extra apps while recording. This helps a lot in a cheap home studio.
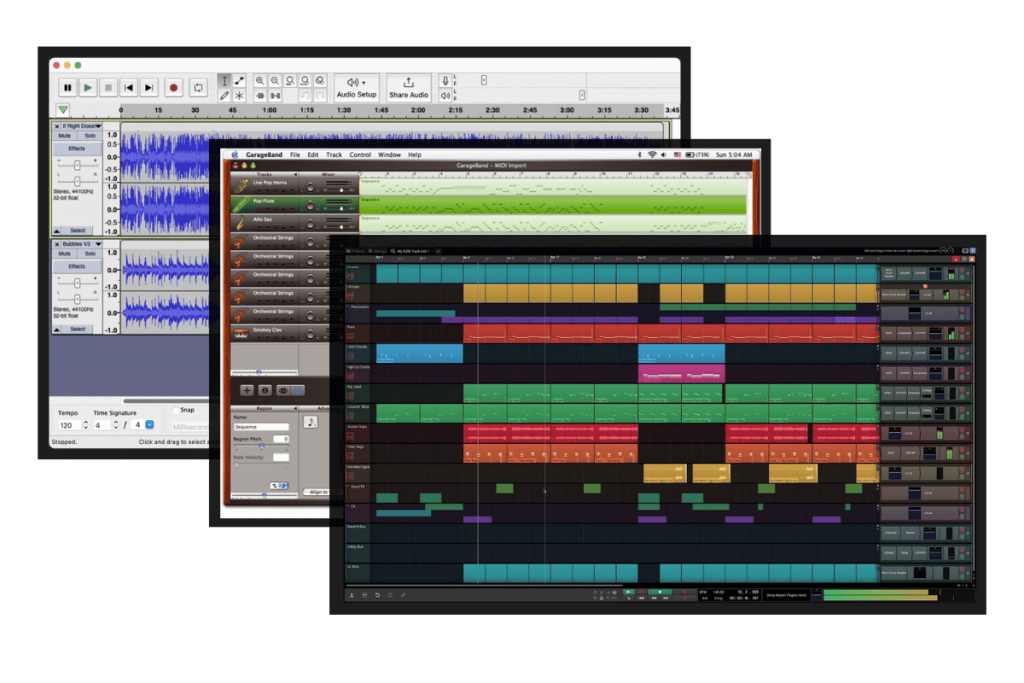
A DAW is the program where you record, edit, and save your audio. It is the main app in your home recording studio setup. If you are doing voice or vocals, you can start with simple tools first.
Here are free recording tools you can use:
- Audacity (Windows/Mac/Linux): Great for clean voice recording and basic editing. It is free and open source.
- GarageBand (Mac/iPhone/iPad): Easy for beginners. Good for basic music and vocals.
- Waveform Free (Windows/Mac/Linux): A full DAW and a strong option for music making.
Read More to learn about Digital Audio Workstations.
Headphones (Closed-Back is Best)
Headphones are a key part of any home recording studio setup. They help you hear your voice or instrument clearly while you record.
There are two main types:
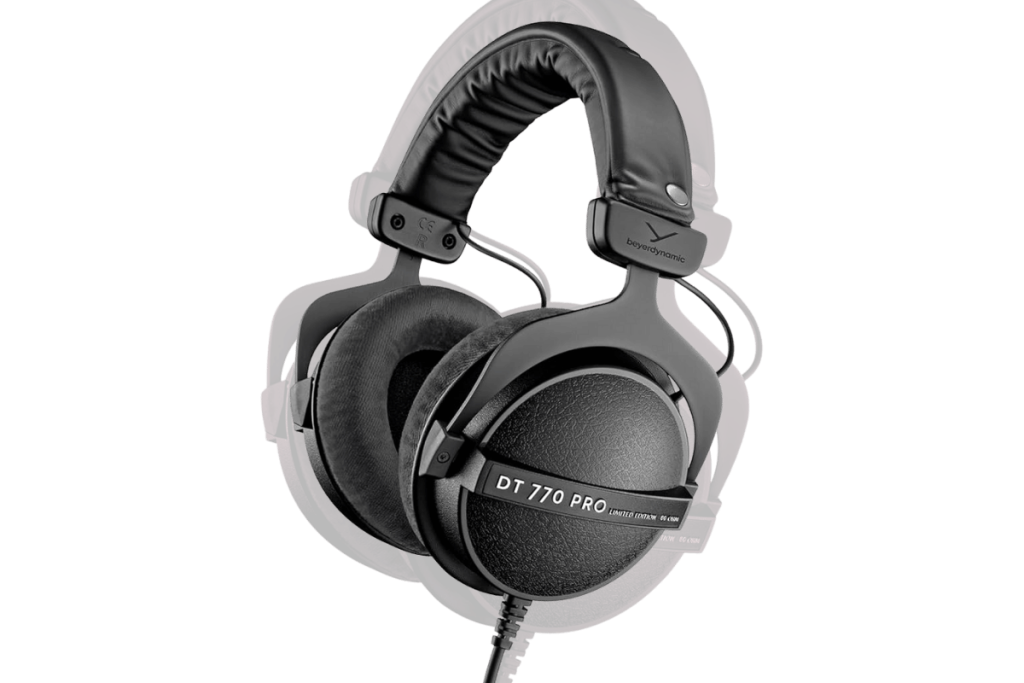
Closed-back headphones are best for recording. They block sound and reduce leakage. This matters because leakage can get into your microphone. For example, if you record vocals over a beat, the mic may pick up the beat from your headphones. Here are some closed-back headphones: Beyerdynamic DT 770 Pro, Sennheiser HD 280 Pro.
Open-back headphones are better for mixing, not recording. They sound more “open” and natural. But they leak a lot of sound. This makes them risky during tracking.
Read this blog to know more about headphones.
Pop Filter / Windscreen
A pop filter or foam windscreen reduces harsh “p” and “b” sounds. It also protects the mic from breath bursts. This is cheap recording gear that makes a big difference.
Cables
Finally, don’t forget cables. USB for USB mics or interfaces. XLR for XLR microphones. Bad cables can cause buzz and dropouts, so buy decent ones.
Simple acoustic treatment (Budget Fixes that work!)
Acoustic treatment means reducing echo in your room. It is not the same as soundproofing. Soundproofing blocks outside noise. Treatment makes your recording sound cleaner inside your home studio.
Start with what you already have. Soft things absorb sound. Hard surfaces reflect it. A simple example: a bedroom usually sounds better than a kitchen because it has a bed, curtains, and clothes.
For a cheap home studio, try these quick fixes:
- Put a rug under you if the floor is tile or wood.
- Close curtains or hang a thick blanket on the wall behind your mic.
- Record near a wardrobe full of clothes. Clothes act like natural sound panels.
- Avoid sitting in the center of the room. Try a corner setup, but keep some soft material around you.
Even small changes like this can make a condenser microphone sound less “echoey” and help your audio recording studio setup sound more professional.
Quick Recording Setup Guide
Once your home recording studio setup is ready, do a fast check before you hit record. This keeps your audio clean, even in a cheap home studio.
Place the microphone well
Keep the mic around 6–8 inches from your mouth. Angle it slightly to the side. This helps reduce harsh breath sounds. Use a pop filter if you have one. A condenser microphone may pick up more room sound, so record closer. A dynamic microphone can also work well at close range.
Set your levels (very important)
Speak or sing at your loudest part. Then set the gain so your sound is strong, but not clipping. If your meter turns red, it is too loud. Lower the gain and test again.
Use headphones while recording
Closed-back headphones help stop sound from leaking into the mic. Keep the volume moderate.
Record a short test first
Record 10 seconds, then listen back. Check for fan noise, echo, and harsh “S” sounds. Fix the problem before you record the full take.
Keep the take clean and simple
Record in a quiet time of day. Do two or three takes. Pick the best one later. This basic recording setup will save time and improve results without buying more recording gear.
After recording: enhance your audio (simple option)
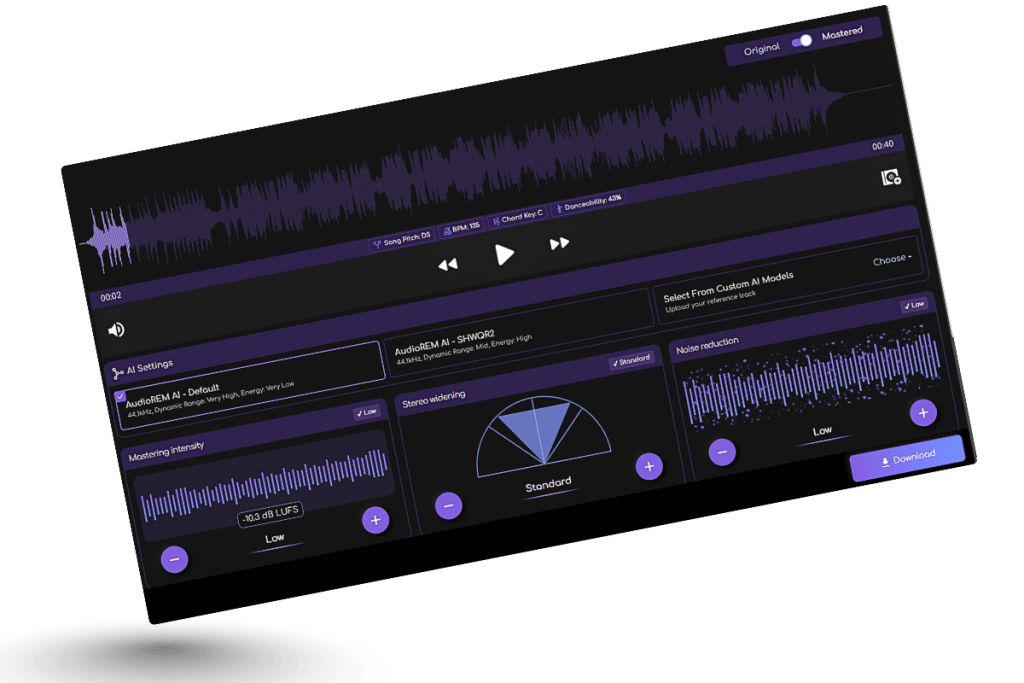
After you finish recording, you can polish your sound with basic edits like trimming silence and lowering background noise. If you want an even faster improvement, you can also upload your track to Remasterify. It can help enhance loudness, clarity, and overall balance. This is a quick add-on for a Budget Home Recording Setup when you want a more finished sound without deep mixing skills.
Final Thoughts
A budget home recording setup can take you far if you keep things simple and consistent. Start with the basics, learn your space, and practice your recording setup often. Over time, you will understand what your home studio truly needs. Focus on clean takes first. Better results come from good habits, not just expensive recording gear.
Frequently Asked Questions
How much would it cost to build a home recording studio?
A home recording studio can cost very little or quite a lot, depending on what you already have and how serious you want to go. In general, a basic budget setup often falls around $100–$250. A better starter setup is usually around $250–$600. A more complete home studio, with extra comfort and flexibility, can be $600–$1,500+.
What equipment do I need to record at home?
To record at home, you mainly need a microphone (USB or a non-USB mic), a computer, and a DAW (recording software). If your microphone is not USB, you will also need an audio interface. For monitoring, closed-back headphones are a smart choice. A mic stand and a pop filter help keep recordings clean and consistent. Finally, you will need the right cables (USB or a mic cable) to connect everything.
How to set up a mini recording studio at home?
To set up a mini recording studio at home, start by choosing the quietest spot you can find, then reduce echo using simple things like curtains, a rug, or a thick blanket. Next, connect your microphone to your computer (and use an audio interface if your mic is not USB), open your recording software, and do a short test recording to set the input level so it’s clear but not too loud. Finally, record while using headphones so the sound doesn’t leak back into the microphone.
What is the 3 to 1 rule when recording?
If you use two microphones, keep the second mic 3 times farther from the first mic than the first mic is from the sound source. This helps avoid weird, thin sound.