You’re a new-era creator. You post on Instagram Reels, YouTube Shorts, Facebook, or TikTok. You already know how to frame a shot, write a hook, and keep viewers watching. But there’s one thing that still feels messy: your audio. Today’s creators don’t just need cameras; they need smart audio tool that make their content sound as good as it looks.

People forgive average video quality much more than they forgive bad sound. If your voice is thin, noisy, or too quiet, viewers scroll. If your music is harsh or muddy, they don’t share. Good audio makes your clips feel “finished,” even if you recorded them in a bedroom.
Table of Contents:
What Struggles Do New Creators Face with Audio?
How Remasterify Solves Those Issues
Step-by-Step Guide to Use Remasterify
Why Remasterify Is Better Than Any Other Online AI Mastering Tool
Why sound quality should NOT be ignored (even if you’re a beginner):
- Clarity builds trust. A clean voice sounds confident and professional.
- Loudness matters on phones. Small speakers hide details and expose problems.
- Platforms normalize volume. If your track is not mastered, it can sound dull after the platform turns it down.
- Better sound = better retention. People stay when words are easy to hear and music feels balanced.
You don’t need a studio to get there. You need a tool that understands beginner mistakes and fixes them fast. That’s where Remasterify fits perfectly.
What Struggles Do New Creators Face with Audio?
When you’re just starting, handling audio sections often feels like the hidden enemy. You record the content, it looks fine. but when you playback it, you get disappointed. The problem isn’t effort, it’s that small technical details ruin the sound. Here are the most common struggles new creators face, and why they happen.
1. Inconsistent Loudness
Your clips don’t all play at the same volume. One video booms, the next whispers. This happens because recording environments and devices capture sound at different levels, and platforms normalize audio differently. The result? Viewers keep adjusting their volume, or worse, scroll away.
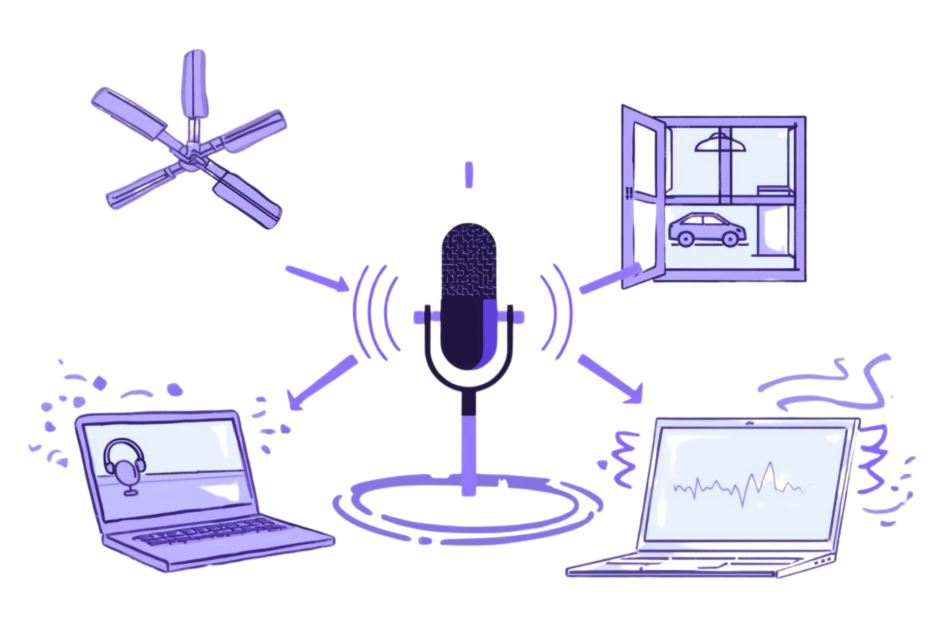
2. Background Noise and Echo
Even in a “quiet” room, you’ll pick up fan noise, traffic, or computer hum. Walls also reflect your voice, creating echo. New creators often don’t realize how sensitive microphones are. On playback, the noise sits under your voice, making it harder for listeners to focus on your message.
3. Muddy or Harsh Sound
Recordings often sound too boomy (muddy lows) or too sharp (harsh highs). This happens because untreated rooms emphasize certain frequencies, and cheap mics can’t capture balance. The end result? Vocals get buried under bass, or sharp consonants (“S,” “T”) become painful on earbuds.

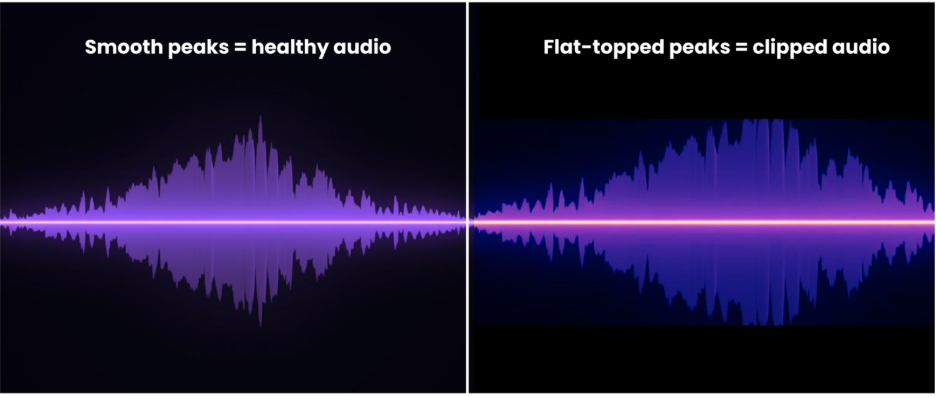
4. Clipping and Distortion
If you record too loud, the audio signal “clips.” Once clipped, it creates permanent crackles or buzz that no editing can fully fix. Beginners often push their mic gain too high without realizing it. What you hear live sounds fine, but playback exposes harsh distortions on peaks.
5. Stereo That Disappears on Phones
On headphones, stereo mixes feel wide and exciting. But most phones play in mono, collapsing both channels into one. Sounds placed too far left or right can disappear. Beginners often don’t check mono compatibility, so key instruments or voices vanish for mobile viewers.
6. Export Confusion
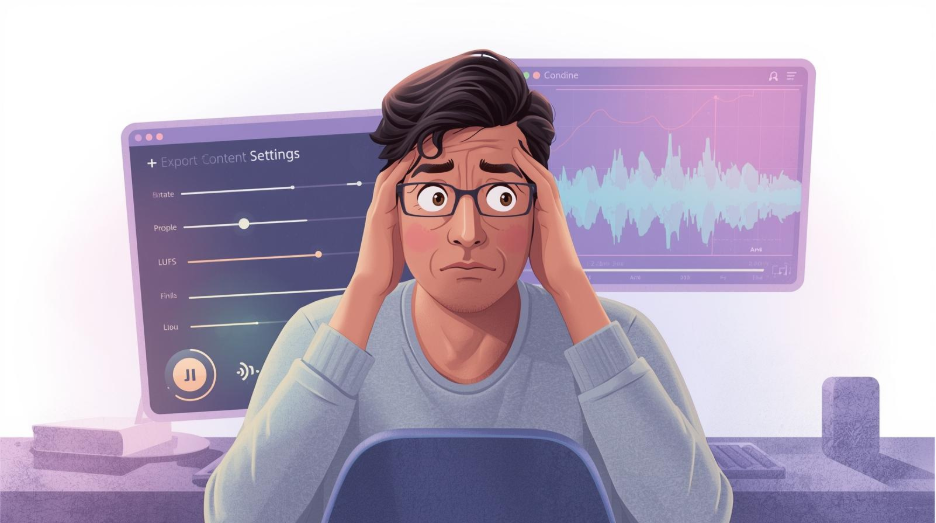
Bitrate. Sample rate. LUFS. To new creators, export settings are a maze. Choosing the wrong settings means audio that sounds muffled, compressed, or simply “off” once uploaded. Many beginners spend hours fixing video edits, only to lose quality in the last step: export.
How Audio tool like Remasterify Solves Those Issues
As a beginner, fixing audio often feels overwhelming. Instead of juggling plugins, settings, and guesswork, this audio tool handles the heavy lifting for you. Remasterify is built to cut through that noise, literally and figuratively. Here’s how it tackles the struggles new creators face.
1. Balanced Loudness Across All Clips
Remasterify automatically adjusts the volume of your recordings to match professional loudness standards. No more one clip too loud and the next too quiet. It ensures your audio is consistent, so viewers don’t need to touch their volume knob. This keeps your videos sounding polished and easy to listen to.
2. Remove Noise and Echo with One Slider
Background hum, AC noise, or room echo often slip into recordings. Remasterify’s noise reduction system cleans these distractions while keeping your voice natural. You simply move a slider from Low to High, and the AI does the rest. This turns messy home recordings into clean, distraction-free audio that people enjoy.
3. Clearer Vocals Without Harshness
Muffled voices or piercing “S” sounds can ruin good content. Remasterify’s built-in equalization smooths out harsh highs while reducing muddy lows. This means your words cut through cleanly, without being painful or buried. Beginners don’t need to know frequencies. The tool shapes your voice, so it stays natural and professional.
4. Protect Your Audio From Clipping
When a voice or beat spikes too high, digital clipping makes it sound broken. Remasterify uses intelligent peak control that catches those spikes before they distort. Instead of crackles or buzzes, you get clean, stable sound. Even if your recording levels weren’t perfect, the final master stays smooth and listenable.
5. Stereo That Works Everywhere
Many creators don’t realize their wide stereo mixes collapse on phone speakers. Remasterify handles this by strengthening the center of your audio, keeping your voice and main sounds intact even in mono. You can choose subtle widening when music is the focus, but your core content always stays present.
6. Smart Exports Made Simple
Export settings confuse most beginners, but Remasterify takes care of them. The tool automatically sets the right loudness, bitrate, and format for platforms like YouTube, Instagram, and Facebook. No more worrying if your upload will sound thin or muffled. You just download the master and know it will translate well everywhere.
Step-by-Step Guide to Use Remasterify
This audio tool keeps things simple: it’s AI mastering for beginners, designed so you can get professional results without needing years of audio experience. The process is straightforward, and each step guides you toward a professional-sounding result. Here’s how to use it from start to finish.
1. Upload Your Audio File
Start by dragging and dropping your recording into Remasterify. You can upload raw voice, music, or a full mix. The system automatically scans your track and prepares it for mastering. No need to worry about formats. Common file types like MP3 and WAV are all supported.
2. Choose Your Mastering Intensity
After upload, select the intensity that matches your content style. For voice-first reels, “Low” keeps things natural. For energetic music or beats, “Medium” or “High” gives more punch. The options are clear, so you don’t need to guess complicated audio terms. Just pick what fits your vibe.
3. Adjust Noise Reduction & EQ
If your recording has background hum, use the Noise Reduction slider. For harsh or muffled audio, enable Automatic EQ to balance frequencies. Beginners usually leave these on default, but the simple controls let you fine-tune if needed. Even if you record near traffic or a fan, you can easily fix noisy recordings with AI in just one click. Small changes make a big difference without risking over-editing.
4. Experiment With Stereo Options
For music-driven content, try “Wide” to create a spacious feel. For podcasts or talking reels, stick to “Standard” so your voice stays front and center. The feature makes sure your mix translates well on both headphones and tiny phone speakers. It’s simple control for a big impact.
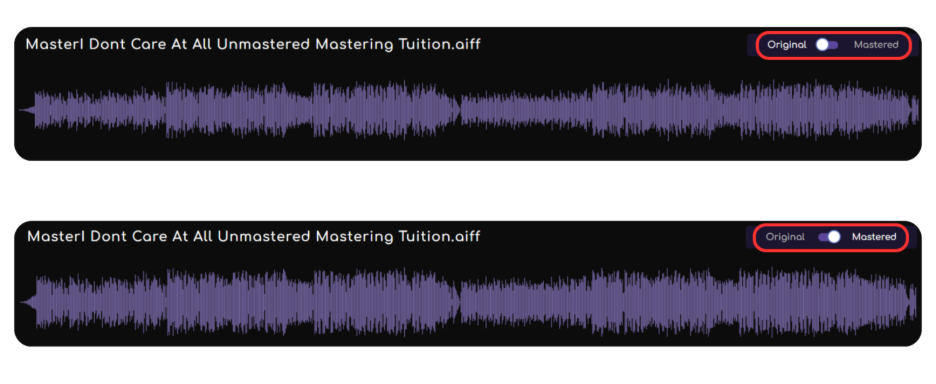
5. Compare and Preview Your Master
Before exporting, play the mastered version alongside your original. This quick A/B check shows how much cleaner and more balanced your track has become. Hearing the difference helps beginners understand what mastering does: consistent loudness, cleaner voice, and tighter overall sound.
6. Export and Save Your Final Track
Finally, hit export. Remasterify automatically applies the right settings for social media platforms, so your track won’t lose quality when uploaded. You can also edit metadata (title, artist, year, cover image) to keep things organized. Once you export, your track is ready to master audio for YouTube, Instagram, or any other platform without losing quality.
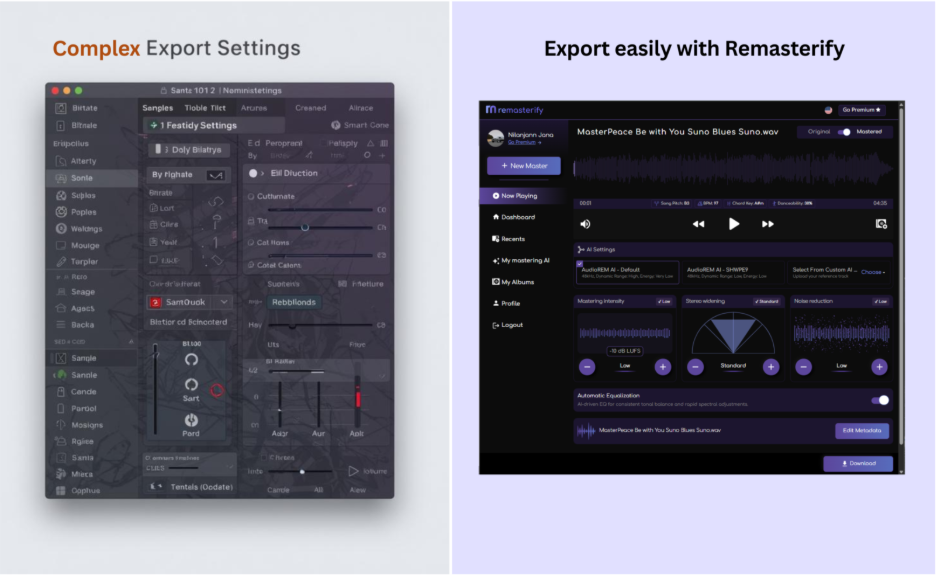
Why Remasterify Is Better Than Any Other Online AI Mastering Tool
Many promise to be the best AI mastering online, but few actually give creators the balance of control and simplicity that Remasterify does. Most online mastering audio tool advertise a quick, “one-click fix,” but that often leaves beginners stuck with results that sound either flat or over-processed. Remasterify is different.
It’s built with a navigation-friendly interface that guides you step by step, so even first-time users feel comfortable. Instead of locking you into one rigid sound, it gives you multiple AI mastering models and mastering intensity modes, letting you choose whether your track should feel natural, punchy, or powerful.
What makes it even more creator-friendly is the extra flexibility. You can upload a reference track to match the tone of music you admire, ensuring consistency across your projects. The option to edit metadata keeps your work organized when posting across platforms. Together, these features create a rare balance: professional customization without complexity. That’s why Remasterify truly stands above other AI mastering audio tool.
Final Thoughts
Starting out as a creator means learning fast, but you don’t need to learn everything at once. Focus on your ideas and let tools like Remasterify handle the technical polish. Treat it as your safety net, it catches common mistakes and lifts your sound to a level audiences respect. The sooner you build clean, consistent audio into your process, the sooner your content will stand out with confidence.