Background noise can quickly ruin your podcast. Even minor distractions like humming appliances or distant traffic can turn listeners away. Clear, professional sound helps keep listeners engaged.
Fortunately, background noise removal isn’t complicated. With a few simple steps, you can greatly improve the quality of your podcast recording.
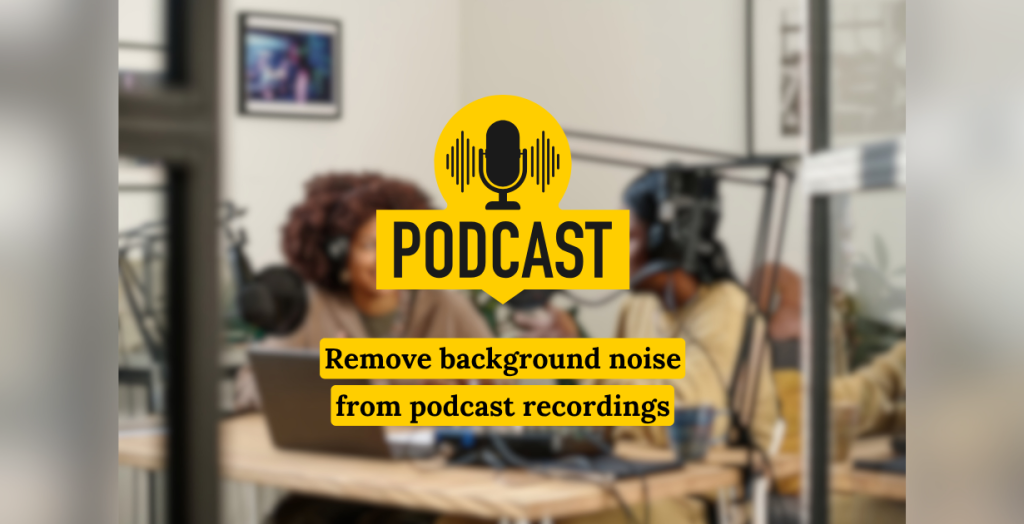
In this guide, you’ll find practical tips to achieve consistent podcast loudness. You’ll also learn easy methods to enhance your vocal recording quality, helping your podcast sound clean and professional.
Ready to get started?
Table of Contents
Understanding Background Noise
Pre-Recording Tips to Minimize Noise
How to Give That Final Polish?
Understanding Background Noise
When you record a podcast, not all sounds are welcome. Some are unwanted and distracting. These are called background noise. It’s anything picked up by your mic that you didn’t intend to include.
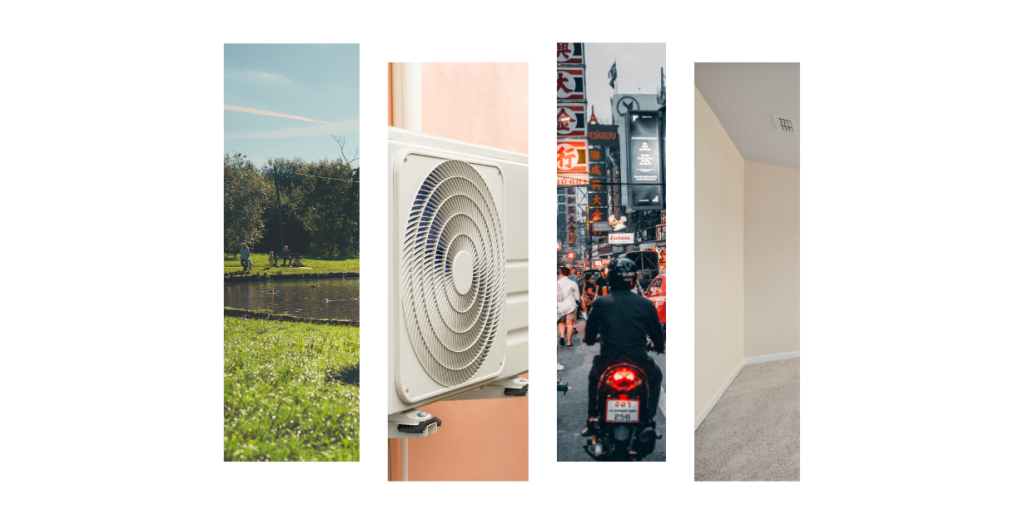
Environmental Sounds
These come from your surroundings. Think of cars passing by, people talking in the next room, or birds chirping outside. Even the wind can be picked up by a microphone.
Example:
If you’re recording near a window, a loud truck driving past can suddenly be heard in the middle of your episode. That noise takes attention away from your voice.
Mechanical Noises
These are sounds from devices around you. Fans, air conditioners, laptops, or even fridges can create a steady hum. These low, constant sounds are easy to miss when you’re speaking but stand out when the episode is played back.
Example:
You record a quiet moment for dramatic effect, but the hum of your ceiling fan fills the silence. This ruins the mood for your listener.
Room Acoustics
Your recording space plays a big role in how your podcast sounds. Empty rooms with hard walls create echoes. This is not exactly background noise, but it adds a layer of sound that competes with your voice. It also affects the quality of your vocal recording.
Example:
Try clapping your hands in your room. If you hear a sharp echo, your mic will pick that up during your recording.
Why It Matters
Background noise removal helps your podcast sound clean and focused. Listeners want to hear your voice clearly. They don’t want to struggle to understand what you’re saying.
It also affects your podcast loudness. Background noise makes volume levels uneven. Some parts may sound too loud, while others feel too soft. This makes it harder for your audience to enjoy the episode.
Clean audio makes a difference between a beginner and a professional sound. Listeners often decide within seconds if they’ll continue with an episode. Don’t let unwanted noise push them away.
Pre-Recording Tips to Minimize Noise
Reducing background noise starts before you even press record. A few simple steps can make your podcast sound clearer and more professional. These tips are perfect for beginners and don’t require expensive gear.
Choose the Right Recording Environment
Your space matters a lot. A quiet, enclosed room is the best place to record a podcast. Smaller spaces like closets or carpeted rooms are great. Why? Because soft surfaces absorb sound instead of bouncing it around.
Example:
Recording in a closet with clothes hanging around you will sound better than recording in a large, empty room.
Avoid rooms near busy streets, loud appliances, or shared walls. Traffic, kitchen sounds, or someone watching TV next door can easily get picked up by your mic. These sounds add unwanted background noise that’s hard to remove later.
Use Appropriate Equipment
The type of microphone you use makes a big difference. If you’re just starting out, look for a dynamic microphone. These are less sensitive to room noise than condenser microphones, which pick up every little sound.
Example:
A condenser mic might catch your keyboard clicks, while a dynamic mic focuses more on your voice.
Use a pop filter or windshield in front of your mic. These tools are simple but effective. They block popping sounds when you say words with “P” or “B” and reduce any air movement hitting the mic.
Implement Acoustic Treatments
You don’t need a full studio setup to improve your vocal recording. Small changes can make a big difference. Cover hard surfaces with rugs, curtains, or even thick blankets. These materials help absorb sound and reduce echo. If you have the budget, consider using sound-absorbing foam panels for even better results.
Example:
Hang a thick blanket behind you and place a rug under your desk. This will soften your voice and reduce reflections.
Position your microphone away from walls or windows. Point it toward a soft surface if possible. Hard surfaces bounce sound, which creates more noise in the recording.
Monitor Your Recording
Always wear headphones while recording. This helps you hear issues like humming, buzzing, or static in real-time. It’s much easier to fix problems as they happen than during editing.
Do a short test recording before each session. Speak a few lines, then listen back. Check for volume levels, strange background sounds, or muffled audio.
By following these steps, you’ll reduce noise, improve podcast recording quality, and get closer to a professional sound before you even hit record.
How to Give That Final Polish?

Even with the best setup, some background noise may still sneak into your recording. That’s where post-processing comes in. Simple tools can clean up your audio and help you achieve a more professional sound.
One easy option is Remasterify. It’s an online, AI-powered mastering tool made for creators who want quality results without any hassle. Just upload your file—MP3, HD WAV, or even MP4—and Remasterify gets to work. It removes background noise, fixes harsh frequencies, and makes your podcast recording ready to publish. Its advanced audio models help you achieve consistent podcast loudness without adding any unwanted artifacts.
Another helpful tool is Descript’s Studio Sound. It boosts your voice and lowers unwanted sounds automatically. Cleanvoice is also a great option. It removes filler words, silences, and low-level noises.
These tools are perfect for beginners. You don’t need editing experience or expensive software. Just a few small tweaks can improve your podcast loudness and overall audio quality.
Conclusion
Creating a podcast isn’t just about speaking into a mic—it’s about making your voice easy and pleasant to hear. Reducing unwanted sounds and polishing your audio helps you build trust with your audience. Clear audio shows that you care about quality, even if you’re just starting out. The more you work on your sound, the more confident you’ll feel behind the mic. You don’t need a full studio or advanced skills—just patience, practice, and the right tools. Focus on clarity, stay consistent, and your podcast will keep sounding better with every episode you produce.