Mastering a song is the final step in music production—but it’s also where things can easily go wrong. A bad master can make your track sound harsh, dull, or worse than the original mix. If you’re a beginner, it’s hard to know if the problem is real or just your ears playing tricks.
This guide will help you spot common signs of poor song mastering without needing technical skills or fancy gear. Whether you’re mastering at home or using online tools, these tips will help you check your final master and get closer to that clean, professional sound.
Table of Contents:
What is a poorly mastered song?
Importance of identifying poor Audio mastering Early on
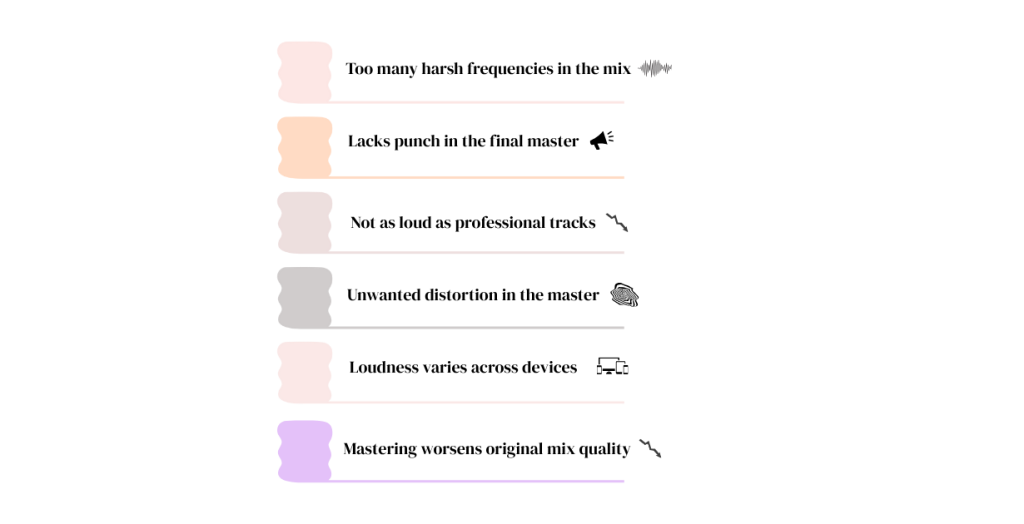
6 Ways to identify a poorly mastered song
- The Song Sounds Harsh or Fatiguing
- There’s No Punch or Energy in the Mix
- The Volume Is Too Loud or Way Too Quiet
- There’s Distortion You Didn’t Intend
- The Track Doesn’t Translate Well Across Devices
- Your Mastered Song Sounds Worse Than the Mix
What is a poorly mastered song?
Poor mastering happens when the final version of a song sounds worse instead of better. It can introduce harsh tones, kill dynamics, or distort the audio. Instead of enhancing the mix, it masks the music’s true quality. Bad mastering results in a track that lacks clarity, punch, or consistency across devices.
Importance of Identifying Poor Audio Mastering Early On
If your song doesn’t sound right after mastering, it’s better to catch the issue early. Why? Because fixing a bad final master later means going back, redoing parts, or even starting over. This costs you time and energy.
Poor mastering affects how people hear your music. It can make the track sound unprofessional, even if the mix was solid. Listeners might hear audio clipping, audio distortion, or just think it doesn’t sound better than the demo.
Early checks help you avoid putting out a track that fails on streaming platforms, phone speakers, or Bluetooth systems. If your song mastering doesn’t hold up across different devices, the audience won’t stick around.
The goal isn’t just loudness—it’s clarity, balance, and polish. Even if you’re new to mastering a song, learning to spot common issues will help you get a cleaner, more professional sound right from the start.
6 Ways to identify a poorly mastered song
The Song Sounds Harsh or Fatiguing
If your track sounds sharp or unpleasant, especially in the high end, poor mastering may be the cause. This often happens when EQ boosts are too aggressive or when limiting is overused. What happens as a result of that? A track that feels tiring to listen to, even at normal volume.
For example, if vocals or cymbals feel like they’re cutting through your ears, that’s a red flag. Beginners often confuse brightness with a professional sound, but harsh treble is not clarity.
Good song mastering keeps things crisp without making your ears hurt. Always test on studio headphones to be sure.
How to fix?
Roll off harsh highs using a gentle high-shelf EQ. Avoid boosting 8–10 kHz too much. Use reference tracks to check for ear fatigue. A de-esser can also help tame sharp frequencies, especially on vocals or cymbals.
There’s No Punch or Energy in the Mix
A well-mastered song should hit with impact. If your track feels flat or lifeless, it could be from over-compression during mastering a song. Dynamics bring excitement—if everything is the same loudness, nothing stands out.
Let’s say you’re kick drum used to thump in the mix, but now it blends into the background. That’s a problem. The energy is gone as a result of overcompression.
Your final master should still move the listener. Without punch, even a clean mix can feel dull. To sound better, leave room for contrast between loud and soft parts. That’s how you keep things alive.
How to fix?
Ease up on compression, especially if you’re using a limiter. Bring back dynamics by allowing peaks to breathe. Try parallel compression instead to retain energy. Also, make sure your transients (like kick and snare) aren’t getting crushed.
The Volume Is Too Loud or Way Too Quiet
If you’re constantly turning your track up or down, something went wrong in mastering. One common issue is pushing for loudness and ending up with audio clipping. Another is mastering too quiet, making your track weak compared to others.
This also affects how your song plays on platforms like Spotify, Apple Music, or Amazon Music. These services normalize volume using LUFS (Loudness Units Full Scale). If your final master is too loud, the platform will turn it down—often in a way that ruins dynamics. If it’s too quiet, it’ll stay low, and your track won’t stand out.
For instance, if your song distorts at full volume or sounds tiny next to a playlist, you need to check your final master. This is especially important when mastering a song for streaming platforms, where volume standards matter.
How to fix?
Aim for around -14 LUFS for streaming. Don’t chase loudness at the cost of audio clipping. Use a loudness meter (like Youlean loudness Meter) to match platform standards. Test your final master in playlists to make sure it blends well in volume.
There’s Distortion You Didn’t Intend
Unwanted audio distortion is a clear sign that something went wrong while mastering a song. This usually happens when levels are pushed too high, causing audio clipping and digital crackling. You might hear fuzz on the vocal peaks or weird noise during loud sections.
For example, if your track sounds clean in the mix but now has crackles in the final version, the problem likely happened during song mastering. Even subtle distortion can ruin a listener’s experience.
Always check your final master with headphones at different volumes. If distortion appears where it wasn’t before, it’s not artistic—it’s a mistake.
How to fix?
Check your limiter and gain staging. If you’re seeing red lights, lower a few dB. Use true peak limiting to avoid digital distortion. Always compare your master to a clean mix to catch unwanted audio distortion early.
The Track Doesn’t Translate Well Across Devices
A common mastering issue is when your song sounds great in one place—but terrible in others. Maybe it booms on studio monitors but feels thin on phone speakers. That’s a sign your final master lacks balance or stereo control.
Good song mastering means the track should sound better on all types of playback—phones, earbuds, laptops, car systems. For example, if the bass disappears in Bluetooth speakers or the vocals vanish in cheap headphones, something’s off.
Translation problems often mean your EQ or imaging choices weren’t tested across devices. Fixing them helps your song reach listeners with a consistent, professional sound.
How to fix?
Always test on multiple systems—phones, car, earbuds, Bluetooth speakers. Use mid-side EQ to control stereo width. Roll off extreme lows and highs that might get lost or exaggerated. Keep your song mastering settings moderate for better translation.
Your Mastered Song Sounds Worse Than the Mix
If you feel like your rough mix sounded cleaner or more exciting than your final master, trust that instinct. This is a classic sign of poor song mastering. Over-processing can suck the life out of your track.
For example, if your original mix had punch but now feels dull or bloated, chances are mastering went too far. You didn’t make the song sound better—you made it worse.
Mastering a song should polish and enhance, not destroy what was working. Beginners often apply too much compression or EQ. Less is more when trying to keep that professional sound.
How to fix?
Go back and A/B your mix and master. If the mix feels better, reduce the processing. Use subtle moves—light EQ, soft limiting. Don’t “fix” things in mastering that belong in the mix stage. Keep your adjustments minimal and intentional.
Conclusion
Mastering a song doesn’t have to feel like a mystery. Even without technical training, you can learn to recognize when something sounds off. If a track feels harsh, flat, or doesn’t play well on different devices, trust your ears—they’re your best tool. Always compare your final master with well-produced songs and listen on phones, earbuds, and speakers. Look out for signs like audio distortion or audio clipping, and don’t be afraid to go back and adjust. Getting a professional sound takes practice, but learning to spot problems early will help your songs sound better every time.