You’ve just finished a vocal recording. The take felt good, the performance was strong, but when you play it back, your voice feels lost under the music. It’s a common issue, and mastering vocals the right way can help fix it.
Whether you’re recording covers, original songs, or reels, making your vocals stand out takes more than just hitting record. It’s about how you record, mix, and prepare your audio for sharing.

In this blog, we’ll break down why your vocals get buried and how mastering vocals can help you fix it in a simple way.
Table of Contents
Solutions To Effectively Mix Vocals
The Best Way to Mastering Vocals
What Are the Common Issues?
Volume Imbalance
One of the most common reasons your vocals get buried is simple: the volume is too low compared to the music. When instruments or backing tracks are louder than your voice, it’s hard for the vocals to cut through. This occurs when you record and mix vocals and music separately. Then stack them together without adjusting the levels.
If you’re using pre-made tracks or karaoke-style instrumentals, they may already be mastered to sound loud and full. In contrast, your voice may sound soft in comparison. Without balancing the levels, your vocals can get lost in the background.
Frequency Clashes
Even when the volumes seem okay, vocals can still sound like they’re being smothered. That’s because some instruments share the same space in the mix. Especially in the mid and high frequencies where vocals naturally sit. When this happens, your voice blends in instead of standing out.
Guitars, synths, and even drums can clash with your vocal range, creating a muddy or crowded sound. This is known as a frequency clash. It doesn’t mean your singing is off—it just means different sounds are fighting for space in the mix. Fixing this comes down to balancing low and high frequencies effectively.
Lack of Clarity
Sometimes vocals are technically loud enough but still don’t sound clear. This usually comes from issues during the vocal recording process—like background noise frequency, poor mic placement, or low-quality gear. Even small problems, like recording too far from the mic, can lead to a harsh sound or a voice that lacks presence.
If your voice isn’t sharp or focused, it won’t sit properly in the mix. It may feel like it’s fading into the background. This lack of clarity makes it harder for listeners to stay engaged, especially on mobile devices where audio flaws are more noticeable.
Solutions To Effectively Mix Vocals
Start with a Clean Vocal Recording

Before you start mixing or mastering vocals, make sure your recording is solid. A clean take saves you from fixing problems later and helps your voice stand out naturally. Here’s a simple checklist to follow:
- Use a decent microphone – Even a basic USB mic will outperform your phone’s built-in mic.
- Record in a quiet room – Turn off fans, ACs, and anything that adds unwanted noise frequency.
- Watch your mic distance – Stay 6 to 10 inches away. Too close causes distortion; too far loses clarity.
- Avoid harsh spaces – Rooms with an echo can create a thin, harsh sound. Use blankets or curtains to soften it.
- Check your input levels – Don’t let the volume meter hit red. Aim for a steady, clear signal.
- Use headphones – This prevents backing tracks from leaking into your mic during playback.
These simple habits make a huge difference when you record vocals that are ready to shine in the mix.
Adjust the Levels
After recording, the first thing to do is balance the volume. If your vocals are too quiet compared to the music, they’ll get buried. If they’re too loud, they’ll sound disconnected from the track. Read this blog to learn about loudness normalization.
Start by playing your full mix and slowly bring up the vocal volume until your voice sits clearly on top—without overpowering the music. Listen with headphones and on speakers to check how it sounds in different settings. Trust your ears. If you’re humming along and your vocals are easy to follow, you’re close to the right level.
Use Equalization (EQ)
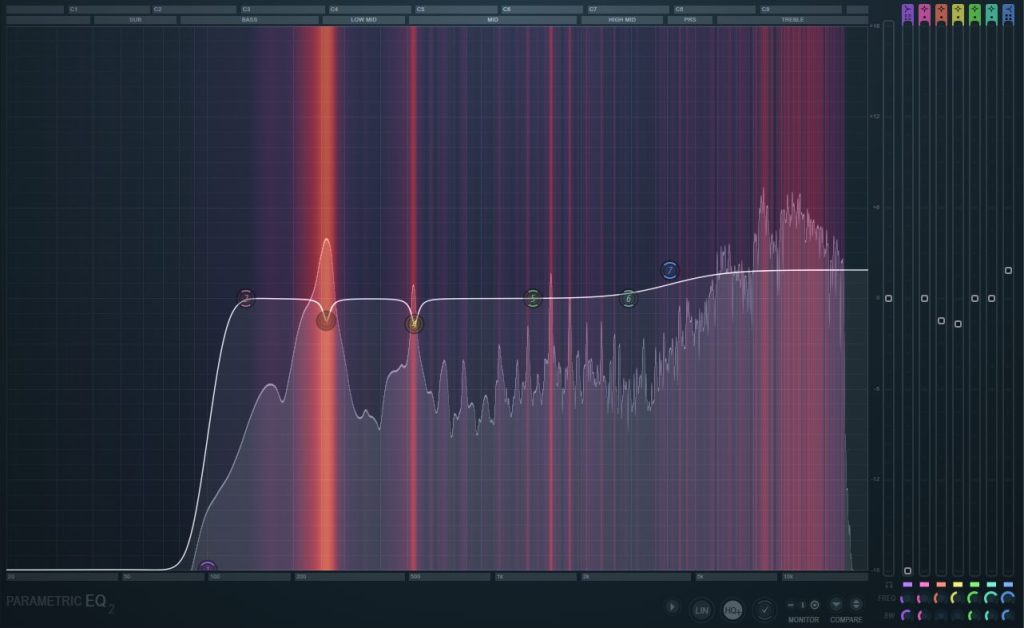
EQ (equalization) is used to shape the tone of your audio. When it comes to vocals, the goal is to make your voice sound clear without clashing with the rest of the mix.
Most vocals sit best when you gently boost the high frequencies (around 4–8 kHz). This adds presence and helps your voice stand out. If the vocals sound dull or buried, try increasing this range slightly.
Also, reduce any low-end rumble (below 100 Hz) that adds unnecessary noise frequency to your vocal recording. These frequencies often come from the room, mic handling, or background sounds—not your actual voice.
Apply Compression
Compression helps smooth out volume changes in your vocals. Sometimes, a singer gets loud in one line and soft in the next. Compression reduces loud peaks and raises the quiet parts to create a more balanced, steady sound. Consistent dynamics make mastering vocals easier later on, especially when you want a smooth, controlled sound.
For beginners, use a basic vocal preset if your editing tool has one. The idea isn’t to squash your vocals but to make them more consistent. This makes it easier to mix vocals so they sit comfortably over the music without sudden jumps or volume drops.
Create Space
Even a good vocal recording can get lost if the mix feels crowded. This is where space comes in—making sure each sound has room to breathe.
You can create space by panning instruments slightly left or right, while keeping the vocals centered. This keeps your voice as the focus. Light reverb can also help your vocals feel more natural and blend smoothly with the track, especially when aiming for that studio vocals feel.
Just don’t overdo it—too much reverb can push your voice back into the mix instead of bringing it forward. Keep it subtle and focused.
The Best Way to Mastering Vocals

After recording and balancing your vocals, the final step is mastering vocals. This is for bringing everything to a polished, consistent level. For many creators, this part can feel overwhelming.
If that sounds familiar, here’s a simple way to get it done without stress:
- Upload your audio recording (MP3, WAV, or MP4) in Remasterify.
- Set your mastering intensity to control the overall loudness of the final recording.
- Balance your mix with the Equalizer. Nonetheless, the AI Equalizer automatically adjusts high frequencies. It removes bad frequencies while retaining the sound characteristics.
- Clean up noise frequency using the Noise Reduction Dial to remove unwanted noise.
- Widen the stereo image to make your overall mix feel fuller and more open.
You don’t need to know how to mix or master. This tool helps you fix problems like high frequencies and harsh noises, and lets your vocals sit clearly in the mix, just like they should.
Conclusion
Mastering vocals isn’t always complicated. It starts with knowing what’s holding them back and accordingly making small changes that have a big impact. Whether you’re recording at home or creating reels on your phone, clear mix vocals can completely change how your content is received.
Here, you don’t need to be an audio expert to sound professional. With a good workflow and the right tools to guide you, your voice can finally take the lead, exactly where it belongs. Your performance deserves to be heard, clearly and confidently.