Some vocals instantly grab your attention, while others feel dull or unfinished. The difference often comes from the vocal chain. It’s the process that shapes your dry vocals step by step, helping them become clear, balanced, and ready for the mix. A good vocal chain makes all the difference, therefore in this blog we will discuss how to build one effectively.

Table of contents:
What is a vocal chain?
Before You Start: Prep the Vocal Track (Quick Checklist)
Build a Basic Vocal Chain (Start Here)
Step 1: Pitch Correction
Step 2: Audio Equalization
Step 3: Compression
Step 4: De-Esser
Step 5: Add Space
Optional Upgrades
What is a vocal chain?
A vocal chain is the step-by-step process your vocal goes through after recording. It takes your dry vocals and shapes them using tools like pitch correction, EQ, audio compression, and de-essing. Each step has a job — some clean the voice, some control the dynamic range, and others add tone or space.
The vocal chain order also matters because every plugin affects the next one. When these steps work together, they turn a raw voice into a smooth, clear, and professional-sounding vocal.
Before You Start: Prep the Vocal Track (Quick Checklist)
Here’s a quick and detailed checklist to follow before starting your vocal chain. These steps make sure your dry vocals are clean, steady, and ready for processing.
1. Choose the Best Vocal Take
- Pick the cleanest and most confident performance.
- Remove mistakes or shaky sections.
- Combine the best parts if needed (comping).
2. Clean Up the Recording
- Cut out long silences and unwanted noise.
- Remove pops, clicks, and lip sounds.
- Use light noise reduction if the room is noisy.
3. Check Gain Levels
- Make sure the raw vocal isn’t too loud or too quiet.
- Aim for a healthy level, so your vocal chain plugins work properly.
4. Fix Timing Issues
- Nudge words that feel late or early.
- Keep the timing natural and musical.
5. Remove Harsh Breaths (But Not All)
- Lower loud breaths instead of deleting all of them.
- Keep the performance human.
6. Label and Organize Your Track
- Name the vocal track clearly.
- Group doubles, harmonies, and ad-libs for easy mixing.
These small steps dramatically improve how your vocal reacts to EQ, audio compression, de-essing, and everything that comes later in the chain.
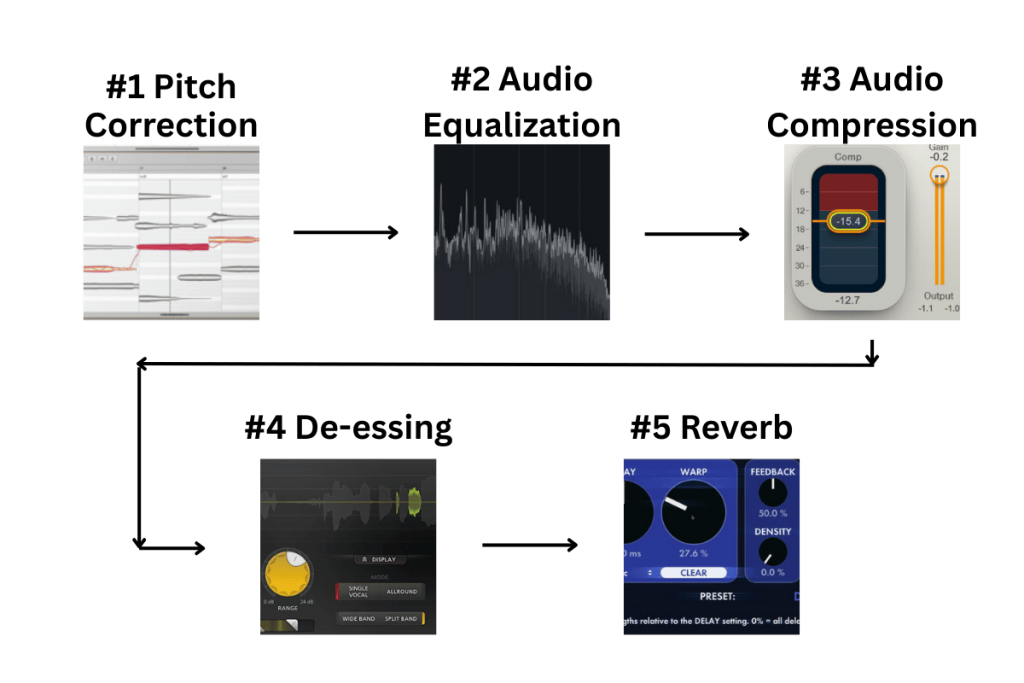
Build a Basic Vocal Chain
A strong vocal chain follows a simple flow: fix the pitch, clean the tone, control the dynamic range, soften harshness, and finally add space. These steps work for almost any vocal style, and you can adjust them based on the song. Let’s break down each stage.
Step 1: Pitch Correction
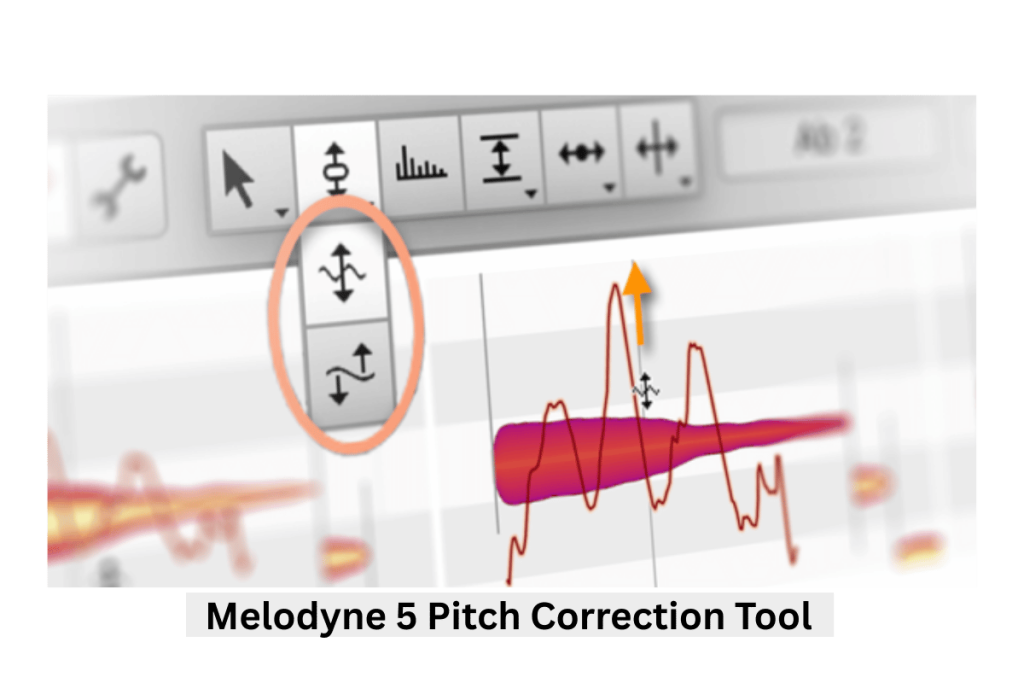
Pitch correction is often the first step in the vocal chain order. It works best when the vocal is clean and untouched. This tool helps guide notes into tune while keeping the performance natural. You don’t need heavy correction unless you’re going for a modern, stylized sound. Even a light correction can tighten the vocal and make it feel more confident.
Why it matters:
- Makes the vocal sound stable and controlled
- Helps later plugins respond more smoothly
- Keeps harmonies and doubles in tune
Recommended Plugins:
- Waves Tune Real-Time (simple and clean)
- Auto-Tune Access or Auto-Tune Pro (industry standard)
- Melodyne (detailed manual control)
Step 2: Audio Equalization (EQ)
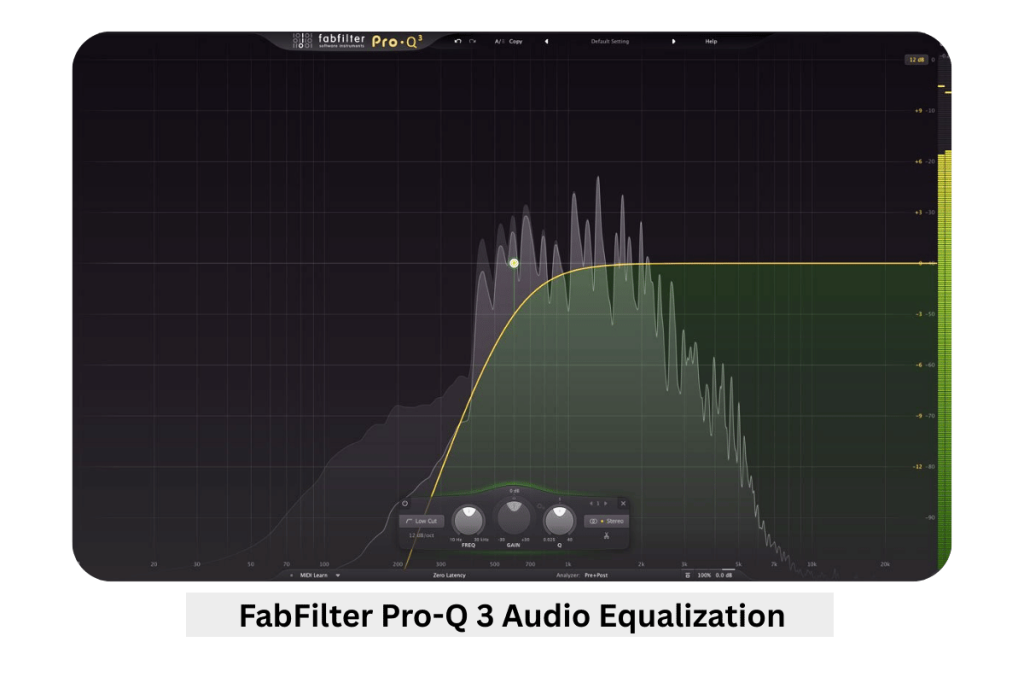
EQ shapes the tonal balance of your vocal. Start with corrective EQ to remove problems, then add gentle boosts if needed. A high-pass filter cleans low rumble. Small cuts around muddy or boxy areas (150–400 Hz) can clear space. Boosting the upper mids (2–5 kHz) adds presence, while a soft lift in the highs adds air. Keep adjustments small; subtle EQ often sounds more natural.
Why it matters:
- Cleans unwanted frequencies
- Adds clarity and brightness
- Prepares the vocal for compression
Recommended Plugins:
- Waves REQ or H-EQ
- Stock EQs in any DAW (perfectly fine for beginners)
Step 3: Compression
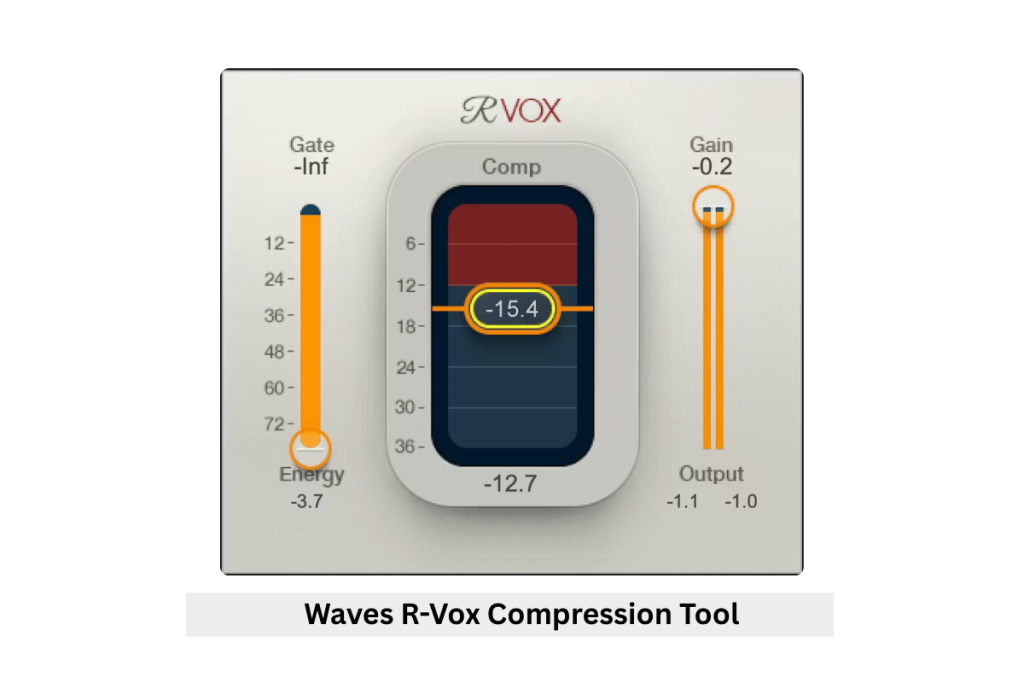
Audio compression controls the dynamic range by reducing loud peaks and lifting soft parts. This keeps the vocal consistent and upfront in the mix. Start with gentle settings. A slow attack keeps the vocal punchy, while a medium release feels natural. Aim for a few dB of gain reduction. If the vocal still jumps around, try two compressors doing light work instead of one doing heavy work.
Why it matters:
- Smooths out volume changes
- Helps vocals sit on top of the music
- Adds warmth or character depending on the compressor
Recommended Plugins:
- LA-2A (smooth and warm)
- 1176 (fast and energetic)
- FabFilter Pro-C 2 (clean and flexible)
- Waves R-Vox (simple and effective)
Step 4: De-Esser
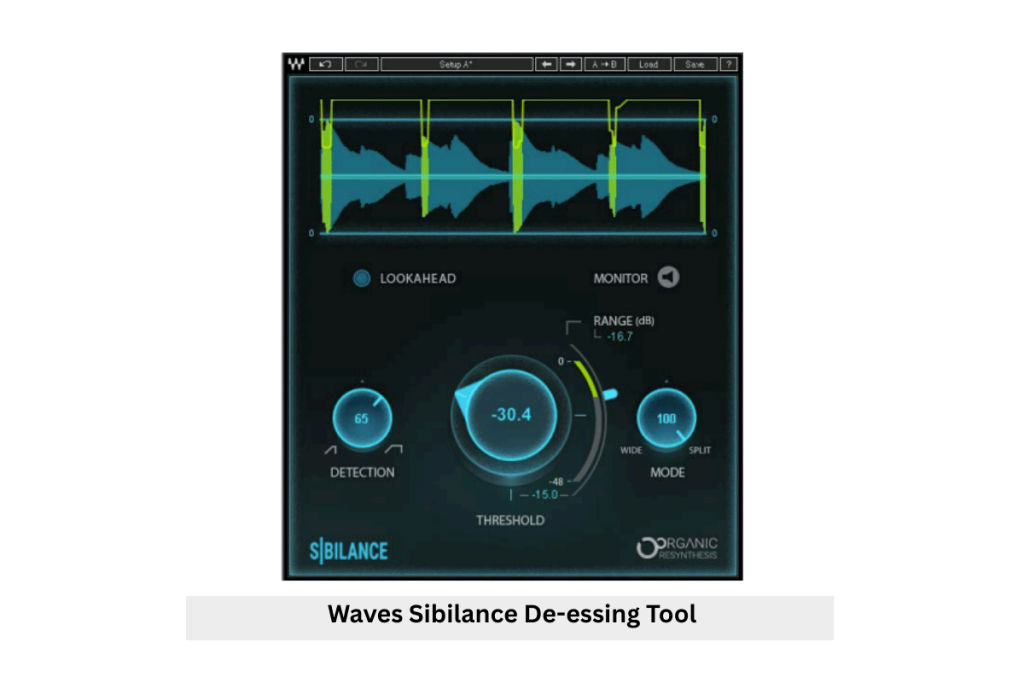
A de-esser controls harsh “S,” “T,” and “Sh” sounds. These spikes become sharper after EQ and compression, so de-essing usually comes after those steps. Choose the sibilance area (5–10 kHz) and reduce only the harsh moments. A good de-esser should sound invisible and never dull the vocal. Read More.
Why it matters:
- Smooths sharp consonants
- Makes the vocal easier to listen to
- Prevents harshness when adding brightness
Recommended Plugins:
- Stock de-essers (surprisingly effective)
Step 5: Add Space (Reverb + Delay)
The final step gives the vocal depth and emotion. Use reverb for a sense of room or atmosphere and delay for rhythm and width. Add them on send tracks so you can blend wet and dry signals. A small reverb works for tight mixes, while longer reverbs create cinematic feels. Delays like slapback or quarter-note repeats can add movement without crowding the mix. Read More.
Why it matters:
- Places the vocal in a realistic space
- Adds vibe and dimension
- Helps the vocal blend with the instrumental
Recommended Plugins:
- Valhalla VintageVerb / Plate
- DAW stock reverbs and delays
Optional Upgrades (If needed)
Harmonic enhancers add subtle richness and depth to your vocal chain. They work by adding gentle overtones that make the vocal sound warmer, fuller, and more present in the mix. These tools are great when a vocal feels too thin or lacks energy, even after EQ and compression. A small amount can make the vocal cut through without increasing volume or harshness.
Why it matters:
Harmonic enhancers add character, improve clarity, and help the vocal feel more alive.
Recommended Vocal Chain Plugins:
Frequently Asked Questions related to Vocal Chain
How to arrange a vocal chain?
Start with tools that fix the vocal, then move to tools that shape it. A common order is: pitch correction → EQ → compression → de-esser → effects. This keeps the vocal clean, controlled, and ready for space like reverb or delay.
What do you need in a vocal chain?
You need a few basic tools: pitch correction, EQ, audio compression, de-essing, and reverb or delay. These cover tuning, tone shaping, dynamic control, harshness control, and space.
How to stack vocals properly?
Keep the lead vocal in focus and support it with doubles or harmonies. Pan doubles slightly left and right. Keep harmonies softer than the lead. Use lighter processing on background vocals so they don’t overpower the main vocal.
In what order should I mix my vocals?
A good starting order is:
1. Pitch correction
2. EQ
3. Compression
4. De-esser
5. Effects (reverb, delay)
This order works because each step prepares the vocal for the next.
Where should EQ be in vocal chain?
EQ usually comes before compression to remove problems early. This helps the compressor work smoothly. You can also add a second EQ after compression for final tone shaping.
Final thoughts
A strong vocal chain doesn’t depend on fancy tools. It comes from knowing how to shape your dry vocals step by step until they feel clear, balanced, and expressive. Every voice is different, so use the chain as a guide and not a rule. Listen closely, make small moves, and trust your ear. With practice, you’ll learn what each vocal needs and build chains that feel natural and consistent across your music.