If you’re struggling with mastering your track, you’re probably asking yourself these questions right now:
- What are the exact mastering steps I should follow?
- Can I do this myself without messing it up?
To be honest, many music creators get stuck at this stage. You may already know your song needs more clarity, loudness, and polish. But once you try to do it manually, things can quickly start going in the wrong direction.
That is exactly why this guide exists. In this blog, we will break down how to master your track in 5 simple steps. Once you understand them, it becomes much easier to make your music sound more balanced, clean, and ready for release.
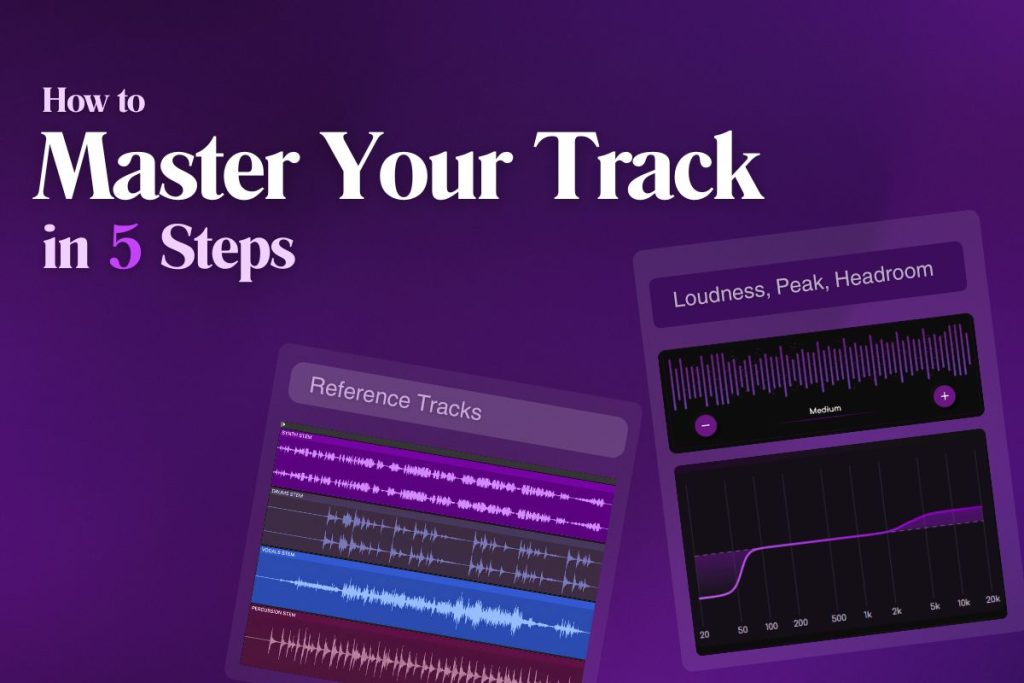
Step 1: Start With the Right Reference Track
The first step in mastering your track is choosing the right reference track.
Before you touch EQ, compression, or limiting, you need a clear idea of what kind of finished sound you are aiming for. A good reference keeps you from making random decisions and helps you judge loudness, tone, punch, and width more accurately.
Your reference should be close to your song in genre, tempo, arrangement, and energy.
If your track is soft and spacious, do not compare it to a dense, aggressive master. The closer the match, the more useful the comparison will be.
You must collect genre-appropriate references. And, must remember this, the overall level, tonal balance, and dynamic impact of your master and reference should not feel worlds apart.
One important detail is level-matching. A louder song can sound better at first, even when it is not. That is why you must do level-matching your master, your mix, and your references while comparing them.
Start with the right reference, and the rest of the mastering process becomes much easier and more intentional.
Genre-specific ideal reference tracks:

Step 2: Check Loudness, Peaks, and Headroom
Once you have the right reference track, the next step is to check your loudness, peaks, and headroom before making any mastering moves. This helps you understand how far your track is from a finished master and keeps you from pushing the signal too hard too early. Without this step, it becomes easy to chase loudness in the wrong way.
Start by looking at your LUFS, peak level, and true peak.
LUFS tells you how loud the track feels over time, while peak and true peak show how close the signal is to clipping. Headroom is the space between your current level and the point where distortion begins. If that space is too small, your master can quickly turn harsh, broken, or over-limited.
This step is important because mastering is not just about making a song louder. It is about making it louder without losing clarity.
Mastering experts recommend checking your destination and loudness standards before mastering, and Spotify also recommends keeping 1 dB of headroom for lossy encodings to help preserve audio quality.
Once you know your loudness and headroom, you can master with much more control.
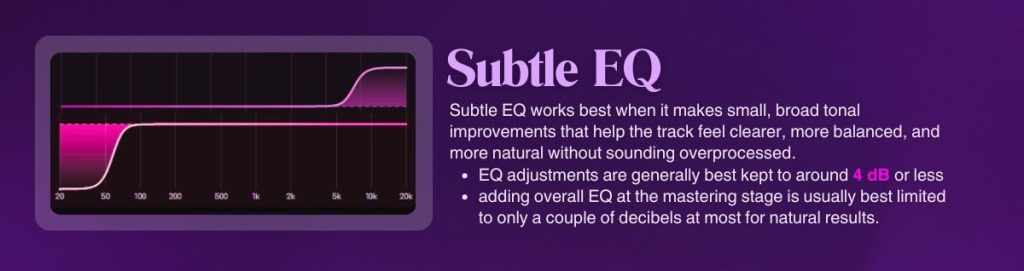
Step 3: Shape the Tone with Subtle EQ
Once your loudness, peaks, and headroom are clear, the next step is to shape the tone with subtle EQ. This is where you improve how the track feels overall.
If the low end is muddy, the vocal feels dull, or the highs are too sharp, small EQ moves can help the master sound cleaner and more polished.
The key word here is “subtle”. Mastering EQ is not the place for heavy correction. If you find yourself making big boosts or cuts, the real issue may still be in the mix. At the mastering stage, EQ should be used to gently improve tonal balance, not completely rebuild it. That is why broad, careful moves usually work better than narrow, aggressive ones.
A good way to guide your EQ choices is by comparing your track to the reference you picked earlier. Listen for things like bass weight, vocal presence, top-end brightness, and overall warmth.
If your song feels too dark, too thin, or too harsh next to the reference, small EQ adjustments can help close that gap.
When done right, subtle EQ makes the master feel more balanced and easier to listen to. It helps your track sound more finished without losing its natural character.
Step 4: Control Dynamics With Compression
After shaping the tone, the next step is to control dynamics with compression.
Compression helps smooth out the difference between louder and quieter moments, so the track feels more stable and controlled.
[Compression reduces the gap between loud and quiet sounds by lowering peaks automatically (if you use any AI mastering tool)]
In mastering, this is not about crushing the mix. It is about adding a little more consistency without taking away the life of the song.
A good master still needs movement. If the dynamics are too wide, the track may feel uneven or harder to raise in loudness. If they are too tight, the song can start sounding flat and tired. That is why mastering compression should be gentle. The goal is to support the mix, not overpower it.
At this stage, listen for sudden peaks, unstable vocal moments, or a master that feels jumpy from section to section. A light amount of compression can help glue things together and make the song feel more polished. It can also help prepare the track for the final limiting stage by making the signal easier to control.
The best approach is to make small adjustments and keep checking how the track feels. Good mastering compression should sound natural. It should make the track feel stronger, not smaller.
Step 5: Set Final Loudness
The final step is to set the loudness of your master. This is usually done with a limiter, which lets you raise the overall level while controlling peaks.
It is the step that helps your track sound more finished, more competitive, and more ready for release. But it also needs care, because pushing too far can quickly make the song harsh or distorted.
Start by raising the limiter slowly while watching your LUFS and true peak readings. You want the track to feel louder and more solid, but still clear. If the loudness improves but the punch disappears or the top end starts sounding brittle, you are probably pushing too hard. A good master should feel strong without sounding crushed.
This is also where your earlier work matters. If the mix is balanced, the EQ is under control, and the dynamics are already stable, setting loudness becomes much easier. You are not forcing volume onto a weak master. You are finishing a track that is already prepared for it.
Finally, before exporting, compare the result to your reference one last time. If it feels balanced, clean, and powerful without obvious harshness, your master is much closer to release-ready.

How AI Can Simplify the Mastering Process
Manual mastering can take time, careful listening, and a lot of technical judgment. You need to check loudness, true peak, tonal balance, compression, and overall clarity, then decide what to change without overprocessing the track. For many creators, that is where mastering starts feeling harder than it should.
This is where AI can make the process much simpler. Instead of adjusting every setting by hand, Remasterify helps analyze your track and improve the key areas that shape a final master. It helps with loudness control, peak management, tonal balance, stereo width, and dynamic consistency, so your track sounds cleaner and more polished with less guesswork.
But that does not mean AI replaces good taste or careful listening. It means you get a faster and more guided way to move from a finished mix to a more release-ready master. For independent artists and DIY producers, that can save time and make the final step feel much less overwhelming.
Master Your Track Faster with Remasterify